Digital fabrication • Short project
Custom Digital Embroidery — PR680W
A short but complete digital fabrication project, from logo vectorization to final embroidery, using a professional multi-needle embroidery machine.
.JPEG)
Final result — custom embroidered logo on a white sweatshirt
.JPEG)
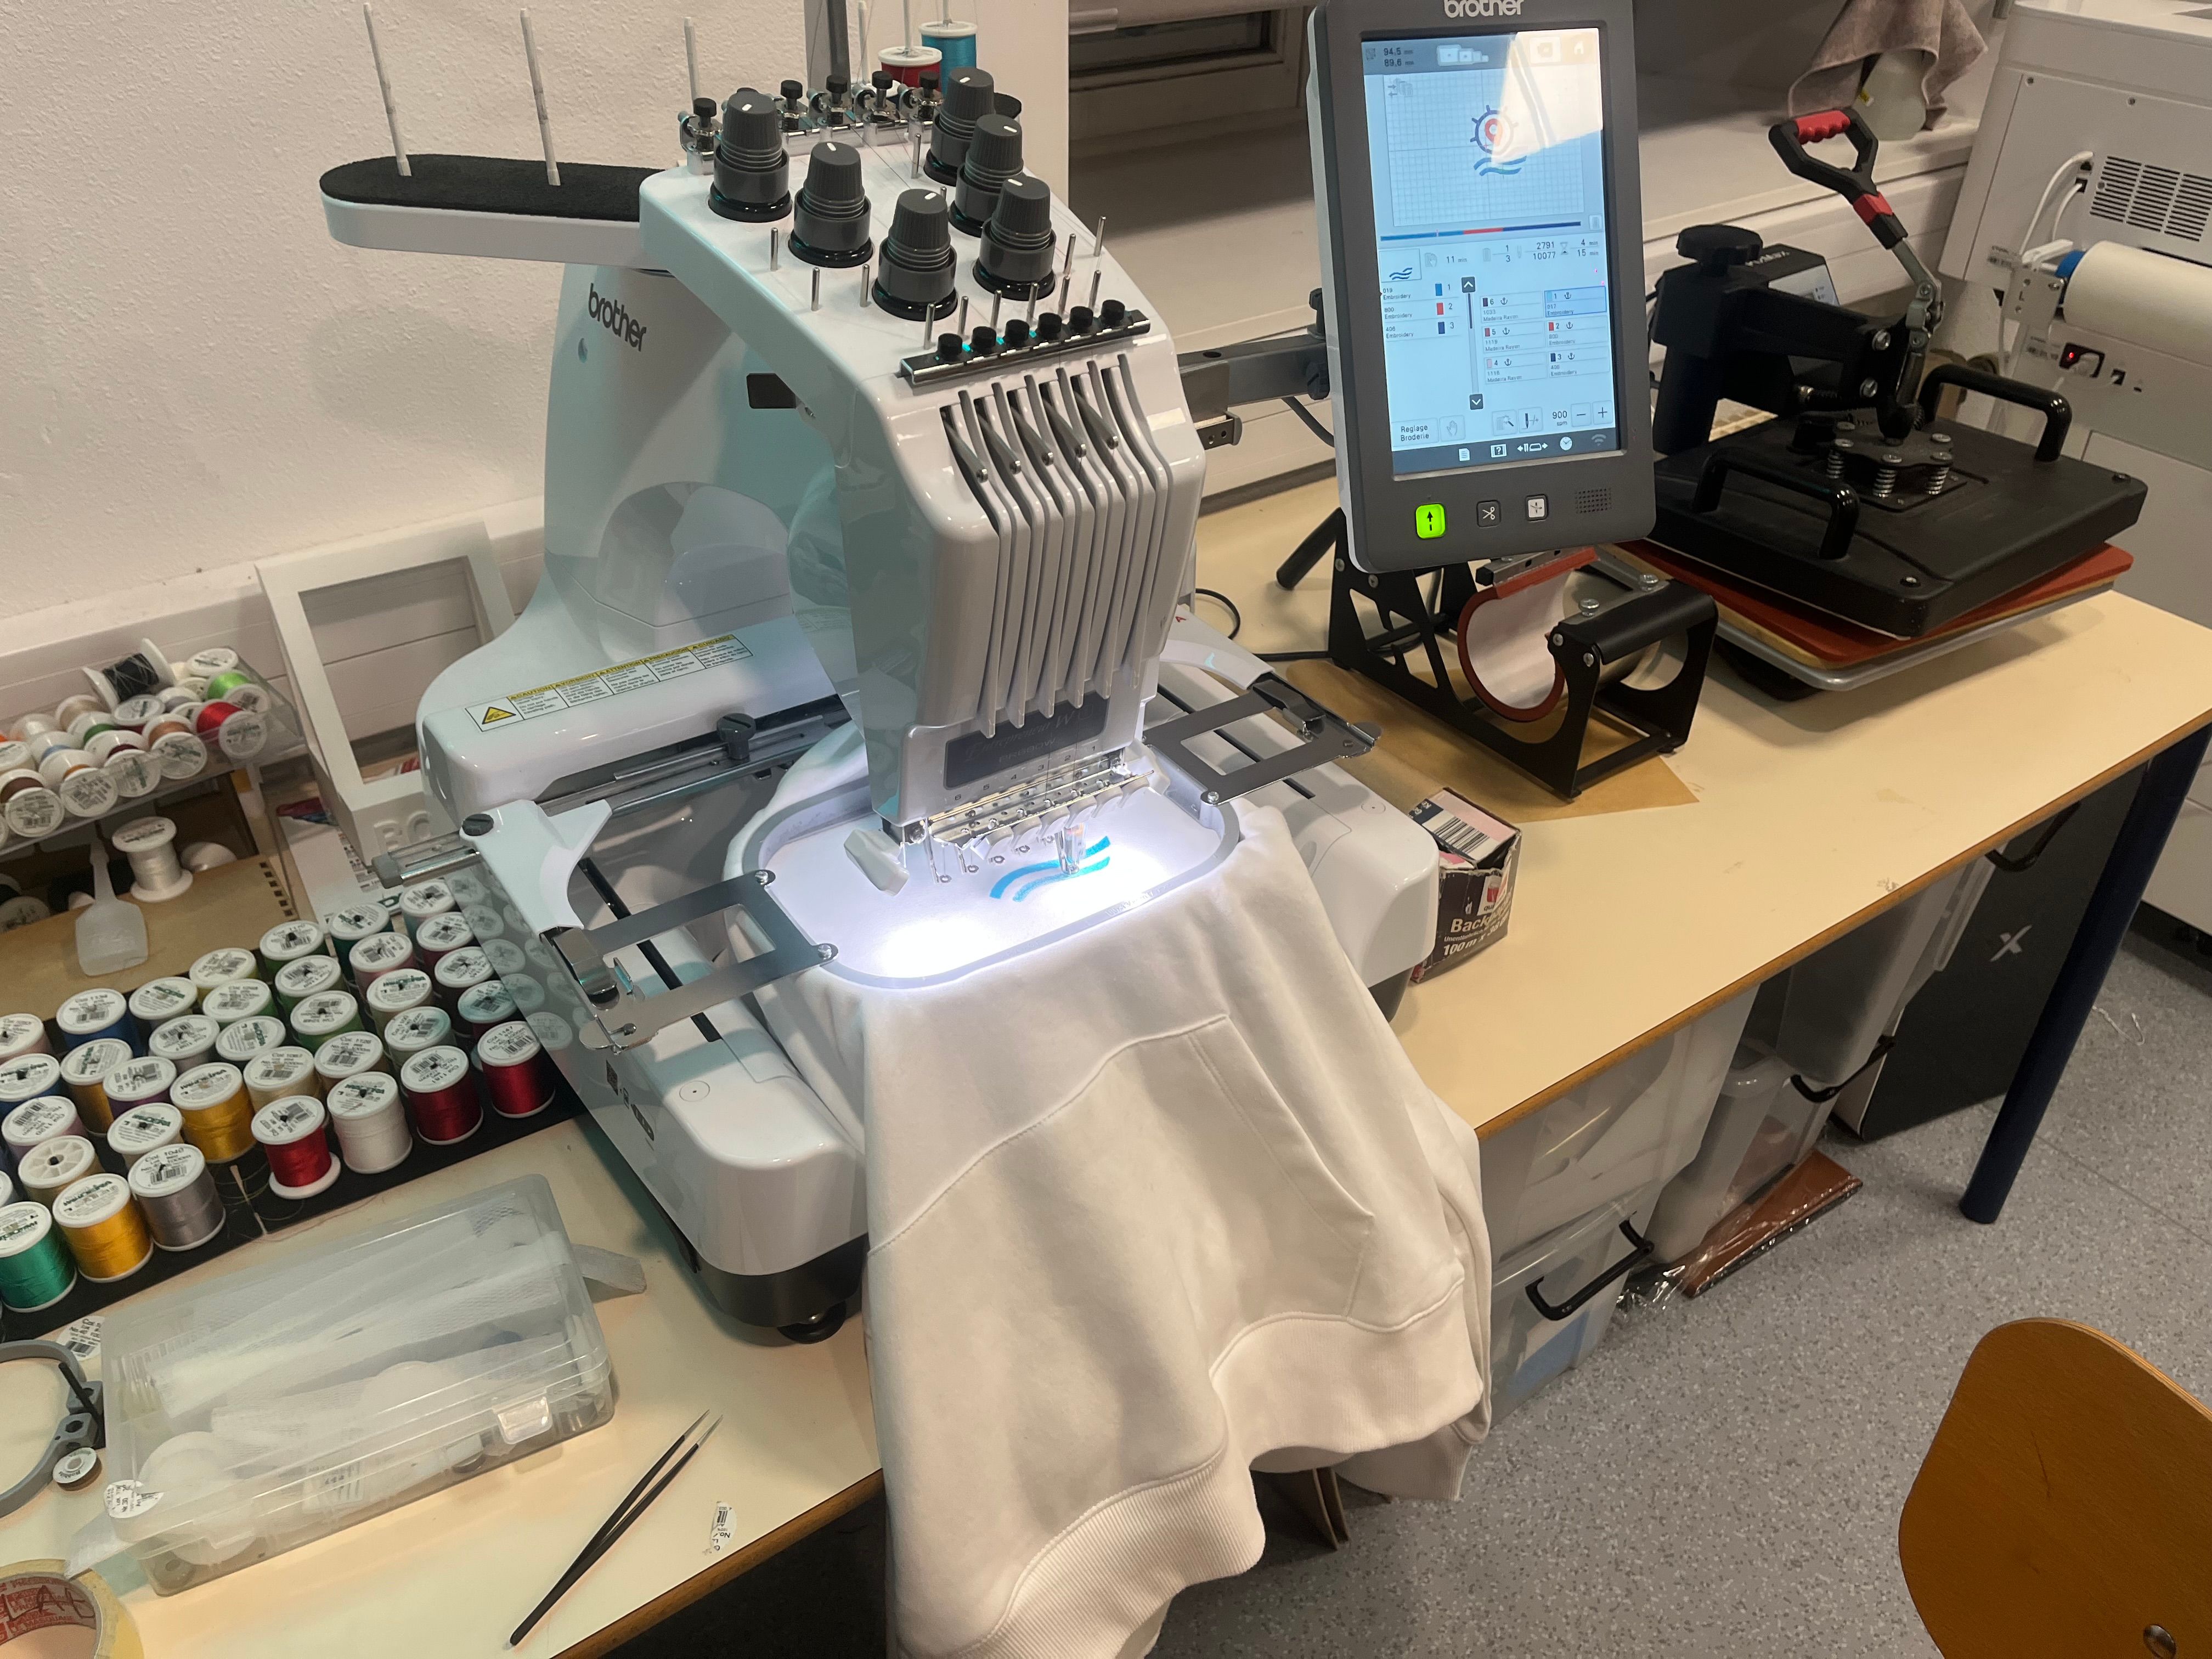
Brother PR680W — professional multi-needle embroidery machine
Context & Objective
As my father and stepmother are developing a mobile application for inland waterway navigation, I wanted to offer them a meaningful and personalized gift. The idea was to embroider their application logo onto a white sweatshirt, using accurate colors and a professional finish.
To achieve this, I had to learn both the software workflow (logo preparation) and the machine operation of a digital embroidery system.
Process Overview
Training
2-hour hands-on training on the PR680W: machine interface, safety, threading, hooping, and program execution.
Design & Vectorization
Logo recreated in Inkscape, then prepared for embroidery using Ink/Stitch (stitch types, densities, spacing, sizing).
Tests and finishing touches
Test runs on sample fabric, visual inspection, parameter fine-tuning, and final adjustments before producing the finished garment.
Production
Fabric preparation, hooping, thread setup, machine calibration, multiple test runs before stitching the final garment.
From Vector Logo to Embroidery File
The logo could not be used directly. It had to be re-designed as a vector file and then translated into stitch instructions. Using Inkscape with the Ink/Stitch extension, I manually defined stitch directions, fill patterns, spacing, and dimensions to ensure a clean and readable embroidery.
Several iterations were necessary to balance visual quality, stitch density, and embroidery time.
Vector preparation and stitch parameters in Inkscape + Ink/Stitch
Fabric preparation — stabilizer, hooping and testing
Machine Setup & Execution
Before embroidering the final sweatshirt, I prepared the fabric using dedicated tools to keep it perfectly tensioned. I installed the correct thread colors, adjusted the machine parameters, and ran the program several times on test fabrics.
Only after validating the result did I launch the embroidery on the final garment.
Skills Acquired
- Understanding of digital embroidery workflows and constraints
- Vector design adapted for manufacturing, not just visual display
- Machine setup, calibration, and troubleshooting
- Iterative testing and quality control before final production
- Transfer of digital design to a physical, functional result
Gallery
.JPEG)
.JPEG)
.JPEG)